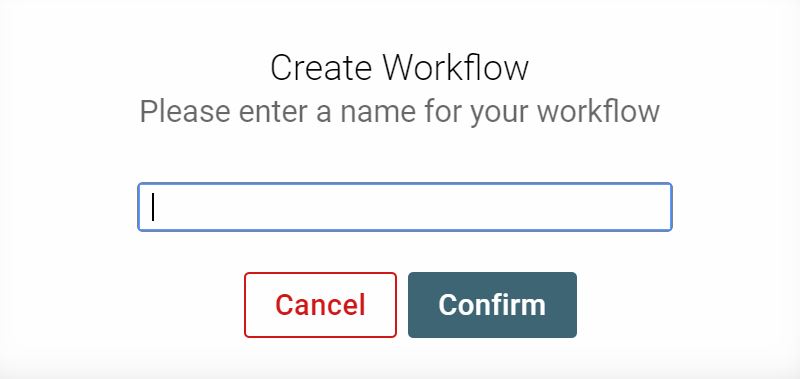
Unlimited workflows can be created for vacancies in the GeniusATS, simply click on [Create Workflow] and give the new workflow a name/title.
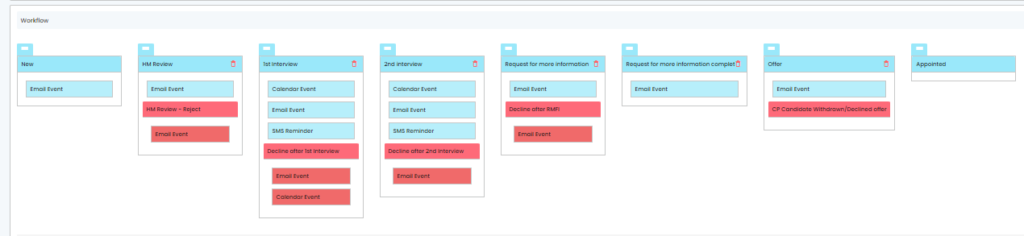
The next page allows you to configure the workflow from ‘New’ to ‘Appointed’, with progression and rejection communications at each stage.
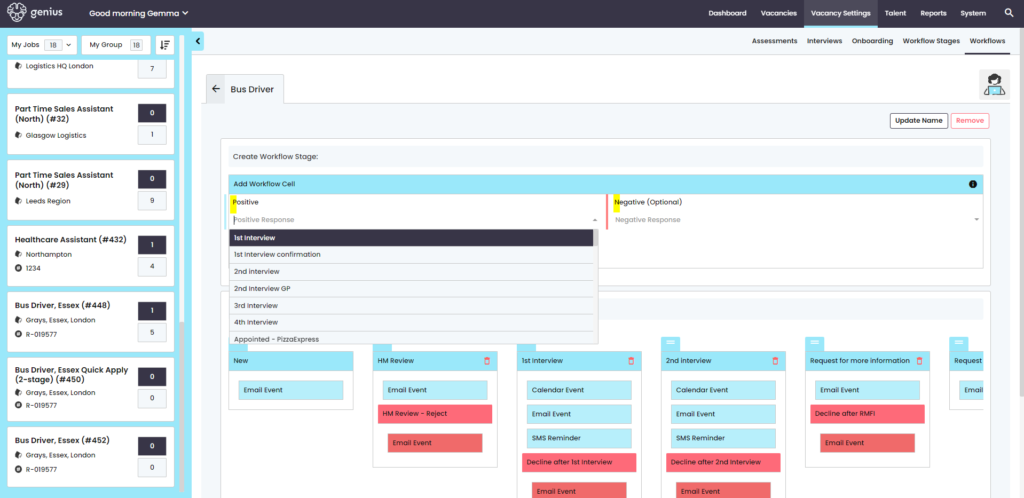
To start creating a new workflow, the screen will automatically display the standard [New] and the [Appointed] workflow stages.
The the dropdowns in the [Add Workflow Cell] area for a ‘positive’ and / or ‘negative’ email templates. As they are added the will appear in the [Workflow] list underneath.
The cells can be moved in sort order if needed in this area.
- Blue = Positive
- Red = Negative
Note: Negative Stages can only be created with Positive Stages
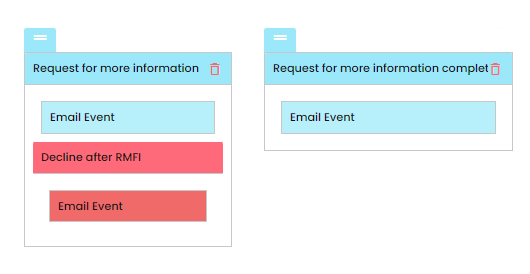
RMFI (2-stage application)
Where a 2-stage application is required. I.e. Basic information requested at application then further along the recruitment process more information is required from a candidate you can use a Request For More Information workflow.
To add this into a workflow, select [Request for more information] cell in the positive area AND [request for more information complete].
Example: